Powder Skis – Why fat is not all that

Skier in off piste terrain

I want to tell you a little bit about why I’m not such a fan of the wide ‘fat boy’ powder skis. And hopefully lead to your suitable powder / all mountain ski.

This style of skis first came about in 1988 when Rupert Huber developed the Atomic Powder Plus skis (originally by cutting a snowboard in half). More than a decade later, Shane McConkey mounted up some water skis, and went on to help in the development of reverse camber skis and rocker skis. The idea was that this would enable the skier to float above the deep powder, allowing more speed and more extreme riding.

All that sounds great! So why am I such a Negative Nelly when it comes to fat skis? Well; it’s all about the time and place, and if you’re realistic, how often are you going to be more than waist deep in powder?

My short love story with fat skis

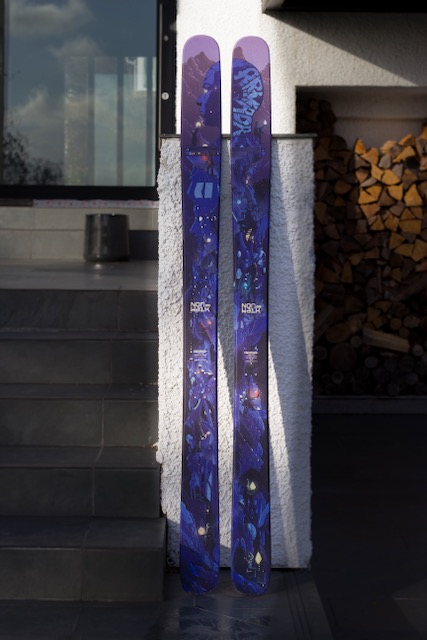
As I completed my first ski instructor training and headed out to work my first winter, I convinced myself I needed a powder ski. I headed to the sports shop, and told the assistant about my needs: “I’m going to St. Anton for the winter, I need a powder ski”, “ah, St. Anton” he said, “then you need something big!”. He directed me to a pair of Armarda Norwalks, 189cm long and 116mm wide (underfoot). I knew nothing better, the price was good and they looked good. So I walked out of there carrying my new skis, and therefore at least +10 skill points.

Aramada Norwalk 189cm

To keep this story short, as an inexperienced skier (comparatively) I loved them because they looked great. I could survive deep off-piste, off-piste that I could not have skied using my piste ski.

The following winter, I had a couple of equipment problems. This led me to buy a pair of used 27m radius, 63mm underfoot race skis. Essentially these became my only skis and therefore, my ‘All-Mountain skis” for the majority of that winter. I used them every day in every circumstance, from teaching beginners to ‘shredding the pow’.

I believe that this really helped with my technique development, my for-and-aft balance really improved. Without it I would not have been able to turn in the deep stuff. In the springtime, the pistes get really chopped up and sticky. This meant that my initiation of each turn had to be well-timed and balanced.

Jack French St. Anton 2020, Snorkel please!

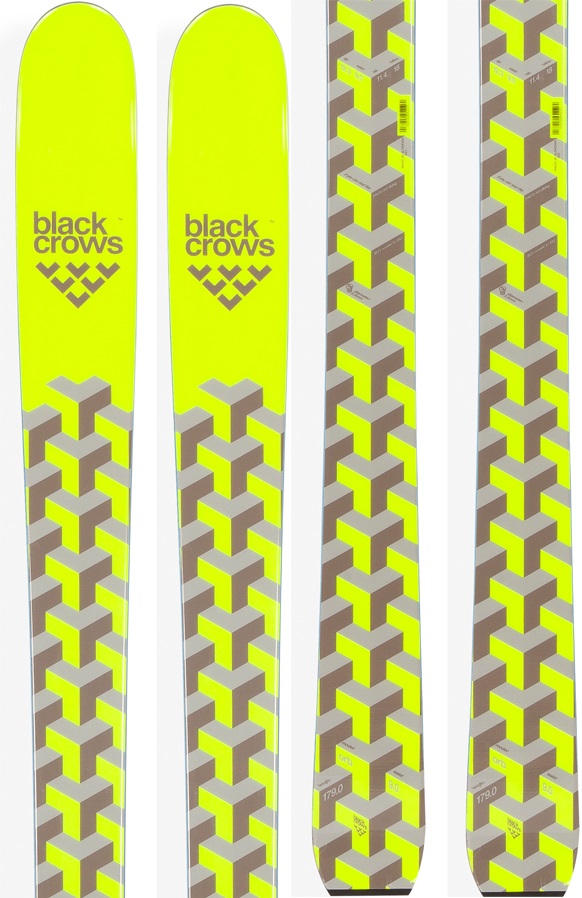
Eventually, I did finally get a real All-Mountain ski, the Black Crow Orb, 186.2cm long and 90mm wide. They were amazing in the powder, and still great on the pistes. I had two great options for skis, I could choose between a piste ski if I wanted to focus on my own technique. Or if I wanted an easier day without so much concentration needed, then I would take the all-mountain skis. When head out shredding the powder, I am really happy on either set. However, in mixed snow conditions, I take the all-mountains nine times out of ten.

Theres a time and a place

Don’t get me wrong, the fat powder skis have a purpose, but… I live and work in St. Anton in Austria, which famous for its 200km of amazing off-piste terrain. However, during each winter season, I would say an would be happy to have around 10 powder days (thats not including if you are teaching off piste). Of those 10 powder days, probably only once or twice that one would appreciate a deep powder ski. So why do so many people feel that a Fat Boy powder skis are an essential peice of equipment?

In the last five winters here in St. Anton, we have had many countless days where the powder was deep enough to hide my nipples if were to skinny dip in it. However, even in those conditions, I love to stick to a ski that’s between 80-100mm underfoot. To me, it’s all about the joy of dipping in and out of the powder, not just floating across the top, after all, what’s the point of two metres of powder if you’re on playing in 10% of it.

If you are Heli-Skiing in Canada or heading over to Japan then yes, perhaps you have justification in buying those 114 width J Skis. If you are dropping 15m cliffs for fun then you may need the 120 Bent Chetlers. Don’t get me wrong these skis are amazing skis, in the right conditions, perhaps my view would be reversed if I lived in Revelstoke Canada or Niseko Japan.

George Perry, St. Anton 2020, waist deep in a fresh snow pillow line (it was slightly heavier than powder).

So which skis should you buy for the powder?

Ok so if you have the budget to own five or more pairs of skis, then this is not such a dilemma, you can buy a dedicated ski for each condition. However most of our readers will be looking for a set up with two pairs of skis; a piste performance ski, and an everything else ski.

In my opinion, you should only buy the really fat (110mm and greater width) skis if you are regularly skiing in powder over your head height. Or dropping huge cliffs for your incredible freeride Instagram profile.

Skis around 105-110mm are great if you regularly ski in powder around waist-deep, but they really suffer on the piste, especially if its icy or bumpy.

My favourite bracket is the all-mountain skis of around 80-105mm. These skis are your swiss army knife of your toolkit. Piste, powder, crud, ice, moguls, slush. Great fun for teaching and tick all the boxes for free skiing too.

You should also consider if you want to go touring. A narrower lighter ski is easier to tour with. You should also avoid a really long ski so that you are able to perform a kick turn. It’s worth chatting to a professional in a sports shop if you are looking to go down this route.

And the last option? Just do everything on a race ski and quit complaining! With proper technique, you can ski pretty much any terrain on a race ski, you just need to be good, or get good quickly! It is one of the best ways you can force your technical abilities to develop.

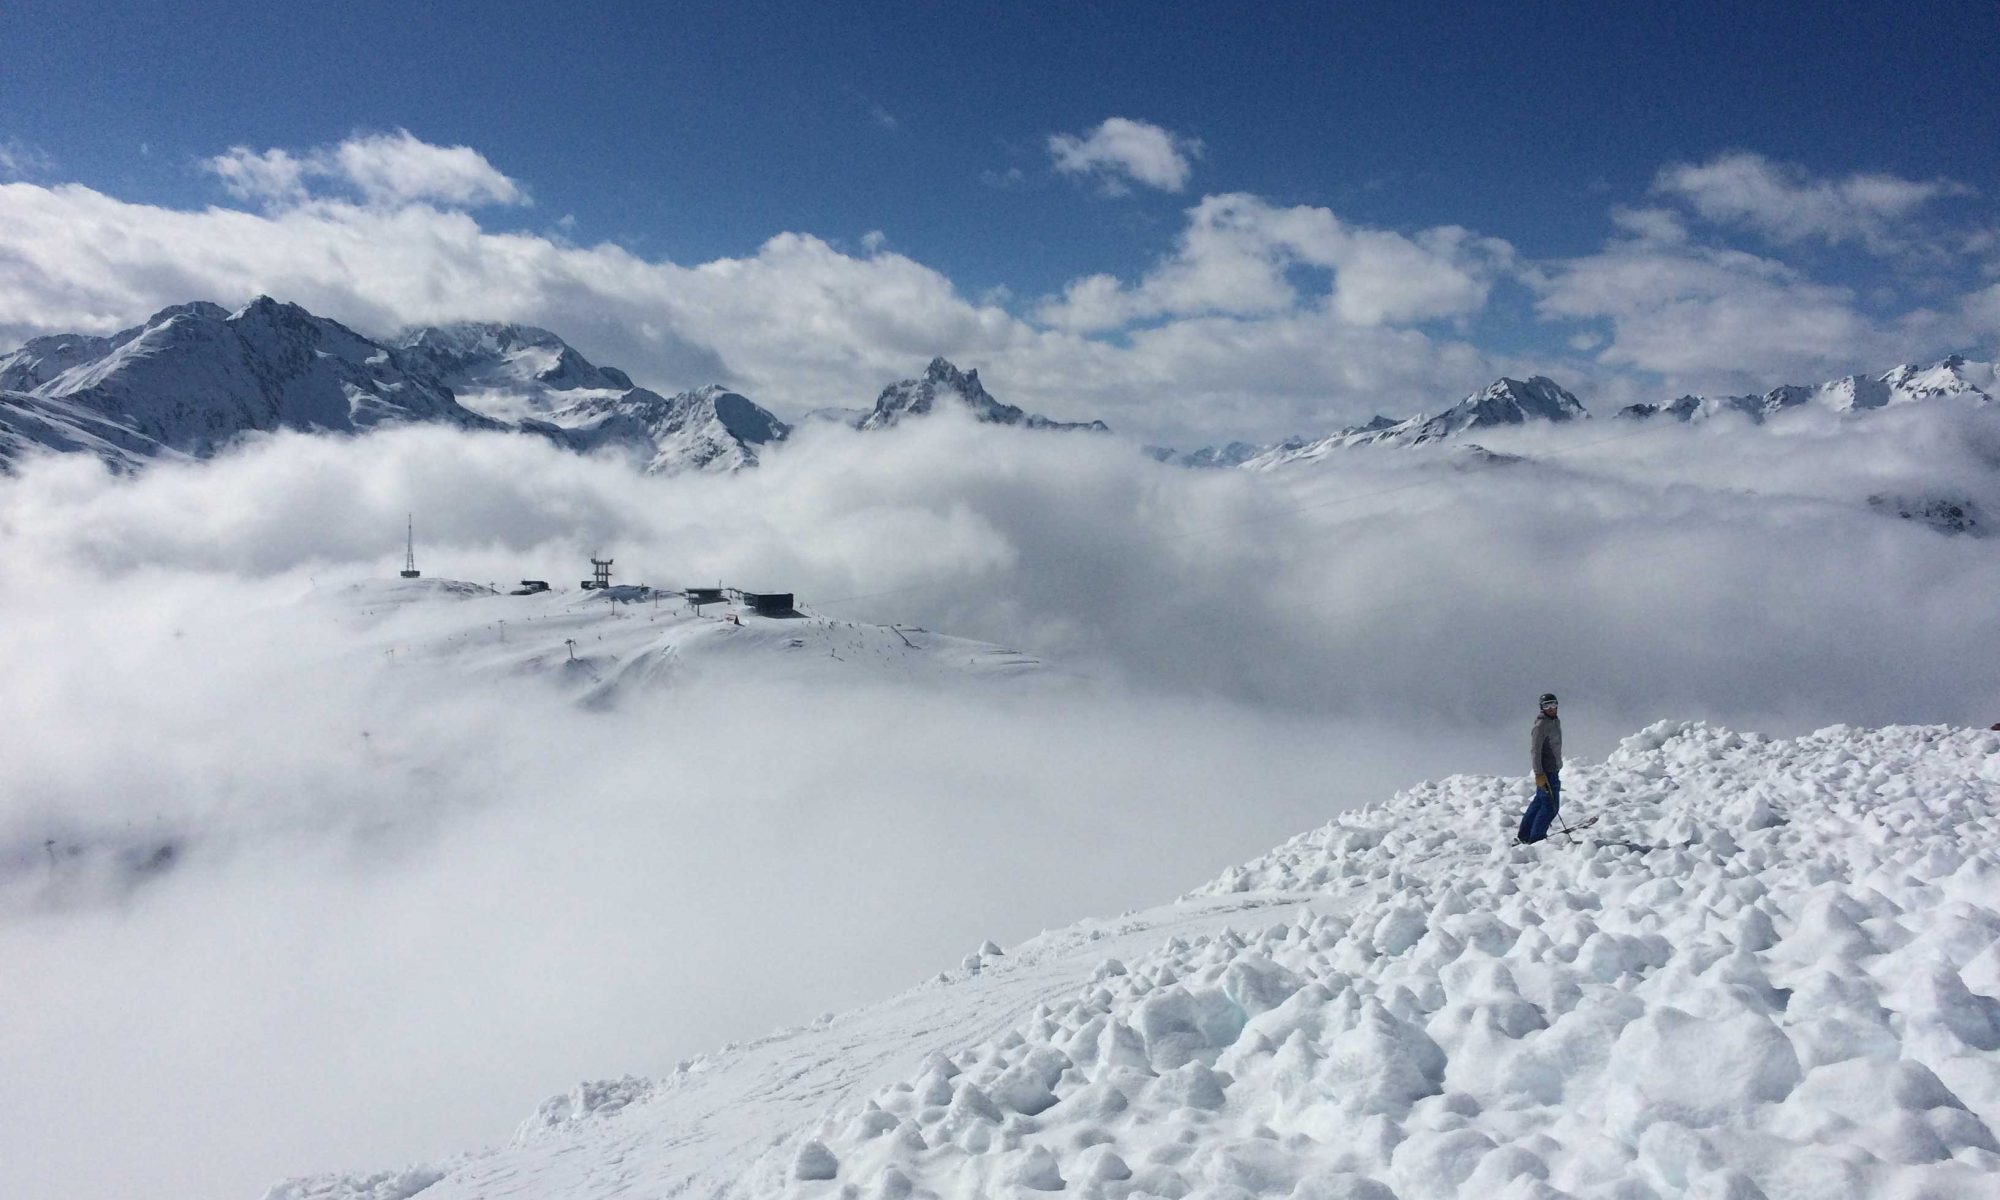
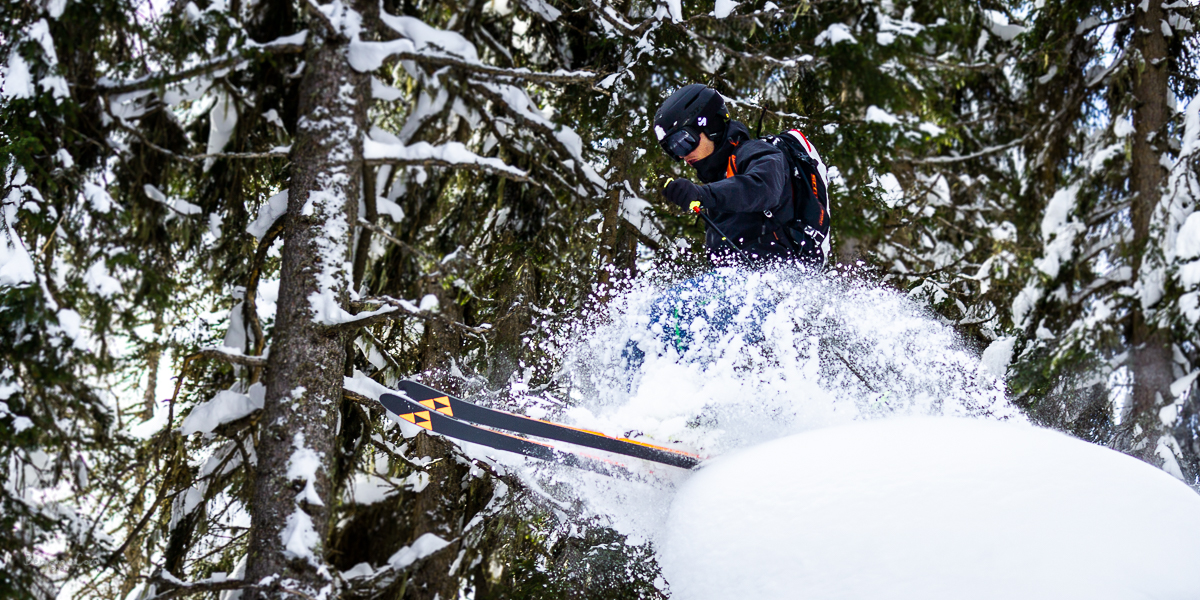
Bodhi (below) is using a ski 188cm long and only 65mm width underfoot. At the time we were skiing wind crust on exposed faces and had thigh-high powder in the sheltered exposures.

Skier in off piste terrain
Bodhi Van Kuijk @bodhi_ski

Read more about Shane McConkey and his contributions in ski development. Powder Magazine has a nice article called The Catalyst: Shane McConkey https://www.powder.com/stories/classics/the-catalyst/

Essential Ski and Snowboard Servicing Equipment

base grind

Ski and snowboard servicing can add a lot of additional cost to your winter season. Often you can find a good price for a service with your local service centre. However, another option is to learn how to service your own skis or snowboard. Below is my list of some of the most essential ski and snowboard servicing equipment, and a quick description of what they are for.

Servicing tools are not cheap, however they are a good investment, most of these tools will last you for years. Also, servicing your own edges takes off much less metal than a machine service. This means your skis and snowboards can be serviced many times more.

*I will also suggest a DIY alternative where possible. This could save you money, or just lighten your load when travelling. Its worth checking out some servicing kits, which include a few of the main tools you need.  Kits are not often the best quality tools, but they can be a good cheap way to start building up your toolkit.

Clamps

Clamps are used to hold your skis or snowboards in place while you service. They really make you service easier and some kind of clamp is a must.

*DIY option: Its quite easy to create your own workstation. The most basic is to fix two pieces of wood to a bench (just wider than your bindings). You can then sit your skis or board across them ready to service.
If you do a quick web search, you will find lots of great ideas for making your own workstation. Tip try searching for “DIY ski servicing clamps” for ideas.

So although buying clamps is not essential, having some kind of workstation definitely is essential ski and snowboard servicing equipment.

Sidewall remover

To edge or ‘tune’ your skis / board, you will need to take a bit of the sidewall away. You might be able to tune your edges once or twice without, but very soon the sidewall will get in the way of the edge.

Edge stone

This stone is used to remove the rough burrs and protruding metal from your edges that are left behind from hitting rocks etc.. this is not essential, if you are able to avoid hitting rocks 😉

Side Angle / Edge Tuner

This is where you need to choose between a Side Angle tool which has a fixed angle, or a an Edge Tuner which can be adjusted to suit your needs. A Side Angle is usually a much more stiff and stable tool that makes it easy to accurately edge your equipment. However it is fixed at only one angle, so if you use a different angle for other equipment, you will need multiple Side Angle tools. The other option is an Edge Tuner, these are usually adjustable or can be flipped over for tuning different angles. The downside of these is that they are usually plastic, so they are less durable and have a small amount of play that can make it harder to achieve that perfect edge.
Adjustable Edge Tuner (above)


Fixed Edge Tuner (note you will also need a clamp to fix the file to the edge tuner.

Edge file

This is a must for my essential ski and snowboard servicing equipment list. Often Edge Tuners or servicing kits will come with a suitable file. However, I would recommend you spending a bit more money on a better file, most are branded as WC or World Cup edge files.

Rubber bands (ski only)

Use these to hold ski brakes retracted out of the way.

* If you can’t get your hands on any bands, the DIY option is string string or ski straps etc. I use rubber wrist bands that a bar gave me as part of a promotion.

Diamond file

If you take a microscope to your edges after you have tuned them with a file, you will see that they are still not smooth, a diamond file will polish the edge and smooth out that rough side, in turn making your edge sharper. Without this, your edges will blunt much faster. Diamond files are available with a grit level of around 100 to 1600.
100 is quite rough and could be used in place of your edge file. I would recommend a 600 grit for finishing your skis. If you are racing you could finish with a smooth 1600 grit. This is a bit overkill for everyday skiing though.

Brushes

There are a few different brushes for preparing your base and creating a race finish. It would ideal be to have a whole array of brushes to suit every situation. We don’t all have this option though so you can scale down your brush collection to whichever suits you best. I would recommend using a mixed soft copper brush for cleaning off dirty wax and preparing your base. After waxing and scraping, you will need to brush the skis again to give a good ‘finish’. For this you could use a nylon brush or a much finer horsehair brush.

*A DIY option is to use a scouring pad or the rough part on the back of your kitchen sponge, it will give the base a half decent structure (click here for details on base structure) and also performs well enough at finishing. See wax for more details on finishing

Base Repair Candle (P-TEX)

Sadly it is inevitable that you will hit a rock and take chunk out of the bottom of your skis or snowboard. If you do, you will need a P-TEX candle, use this to drip and fill your nasty gash.

Waxing Iron

Waxing Irons are used for melting the wax and spreading it on the base of your ski / snowboard. You can find small travel waxing irons if you need to travel light. The advantage of a larger one however is a thicker iron plate which will heat more evenly. Please buy an iron designed for waxing, don’t use a clothes iron, they do not provide heat evenly and its very likely you will destroy your equipment by burning your base. Equally, travel irons can deliver heat less evenly, so be careful not to wax for too long.

Wax

Wax is essential. When you ski on snow you create heat, the very surface of the snow becomes a film of water which your ski would stick to without wax. Much like a car tyre, your ski / board needs a tread to allow the water to be dispersed. This is why you should brush after waxing, and take care of your bases. If you find your base gets dry very quickly after waxing, see base structure (coming soon).

There are many many different waxes and you could spend a small fortune on racing wax, these usually contain fluorocarbon which dispels water, can be very effective for skiing but they are expensive, the fumes are pretty hazardous to your health if you don’t ventilate, plus they are potentially harmful to the environment. Unless you are actually racing I would say fluoro waxes are unnecessary. Flouro waxes can also clog up your base structure, and dry out your bases if you don’t regularly clean them properly using fluoro  solvents.

You can also go into temperature specific waxes for all the varieties of winter, however for everyday skiing and teaching, I would recommend a universal wax, perhaps advertised as a training wax, they tend to have a broad temperature range. Universal or training waxes are quite durable, so they have a good lifespan before they need applying again.

Scraper

After waxing you need to remove the excess wax. for this you need a plastic scraper. If you buy a servicing toolkit, this will nearly always be included.

You may have seen some metal scrapers, On the whole I would not recommend them. Metal scrapers can be too harsh and also damage the structure of your base.

Scrapers are also used to shave excess P-TEX giving a flat base again. For this I would use a metal one, until it is nearly flat, then swap to plastic to finish.

The End.

Thanks for reading, If you have your own preferred tools, please feel free to comment below. If you’re interested in what tools I use, head on over to my other article and read about My Ski Servicing Equipment.